

inclusioncraft 101-ish
inclusioncraft 101-ish
the basics for (anything but basic!) bars with added flavors and textures, and a look at inclusioncraft structure
This is an updated inclusion post I wrote in 2023. Enjoy!
If I say “inclusion bar” what do you think of?
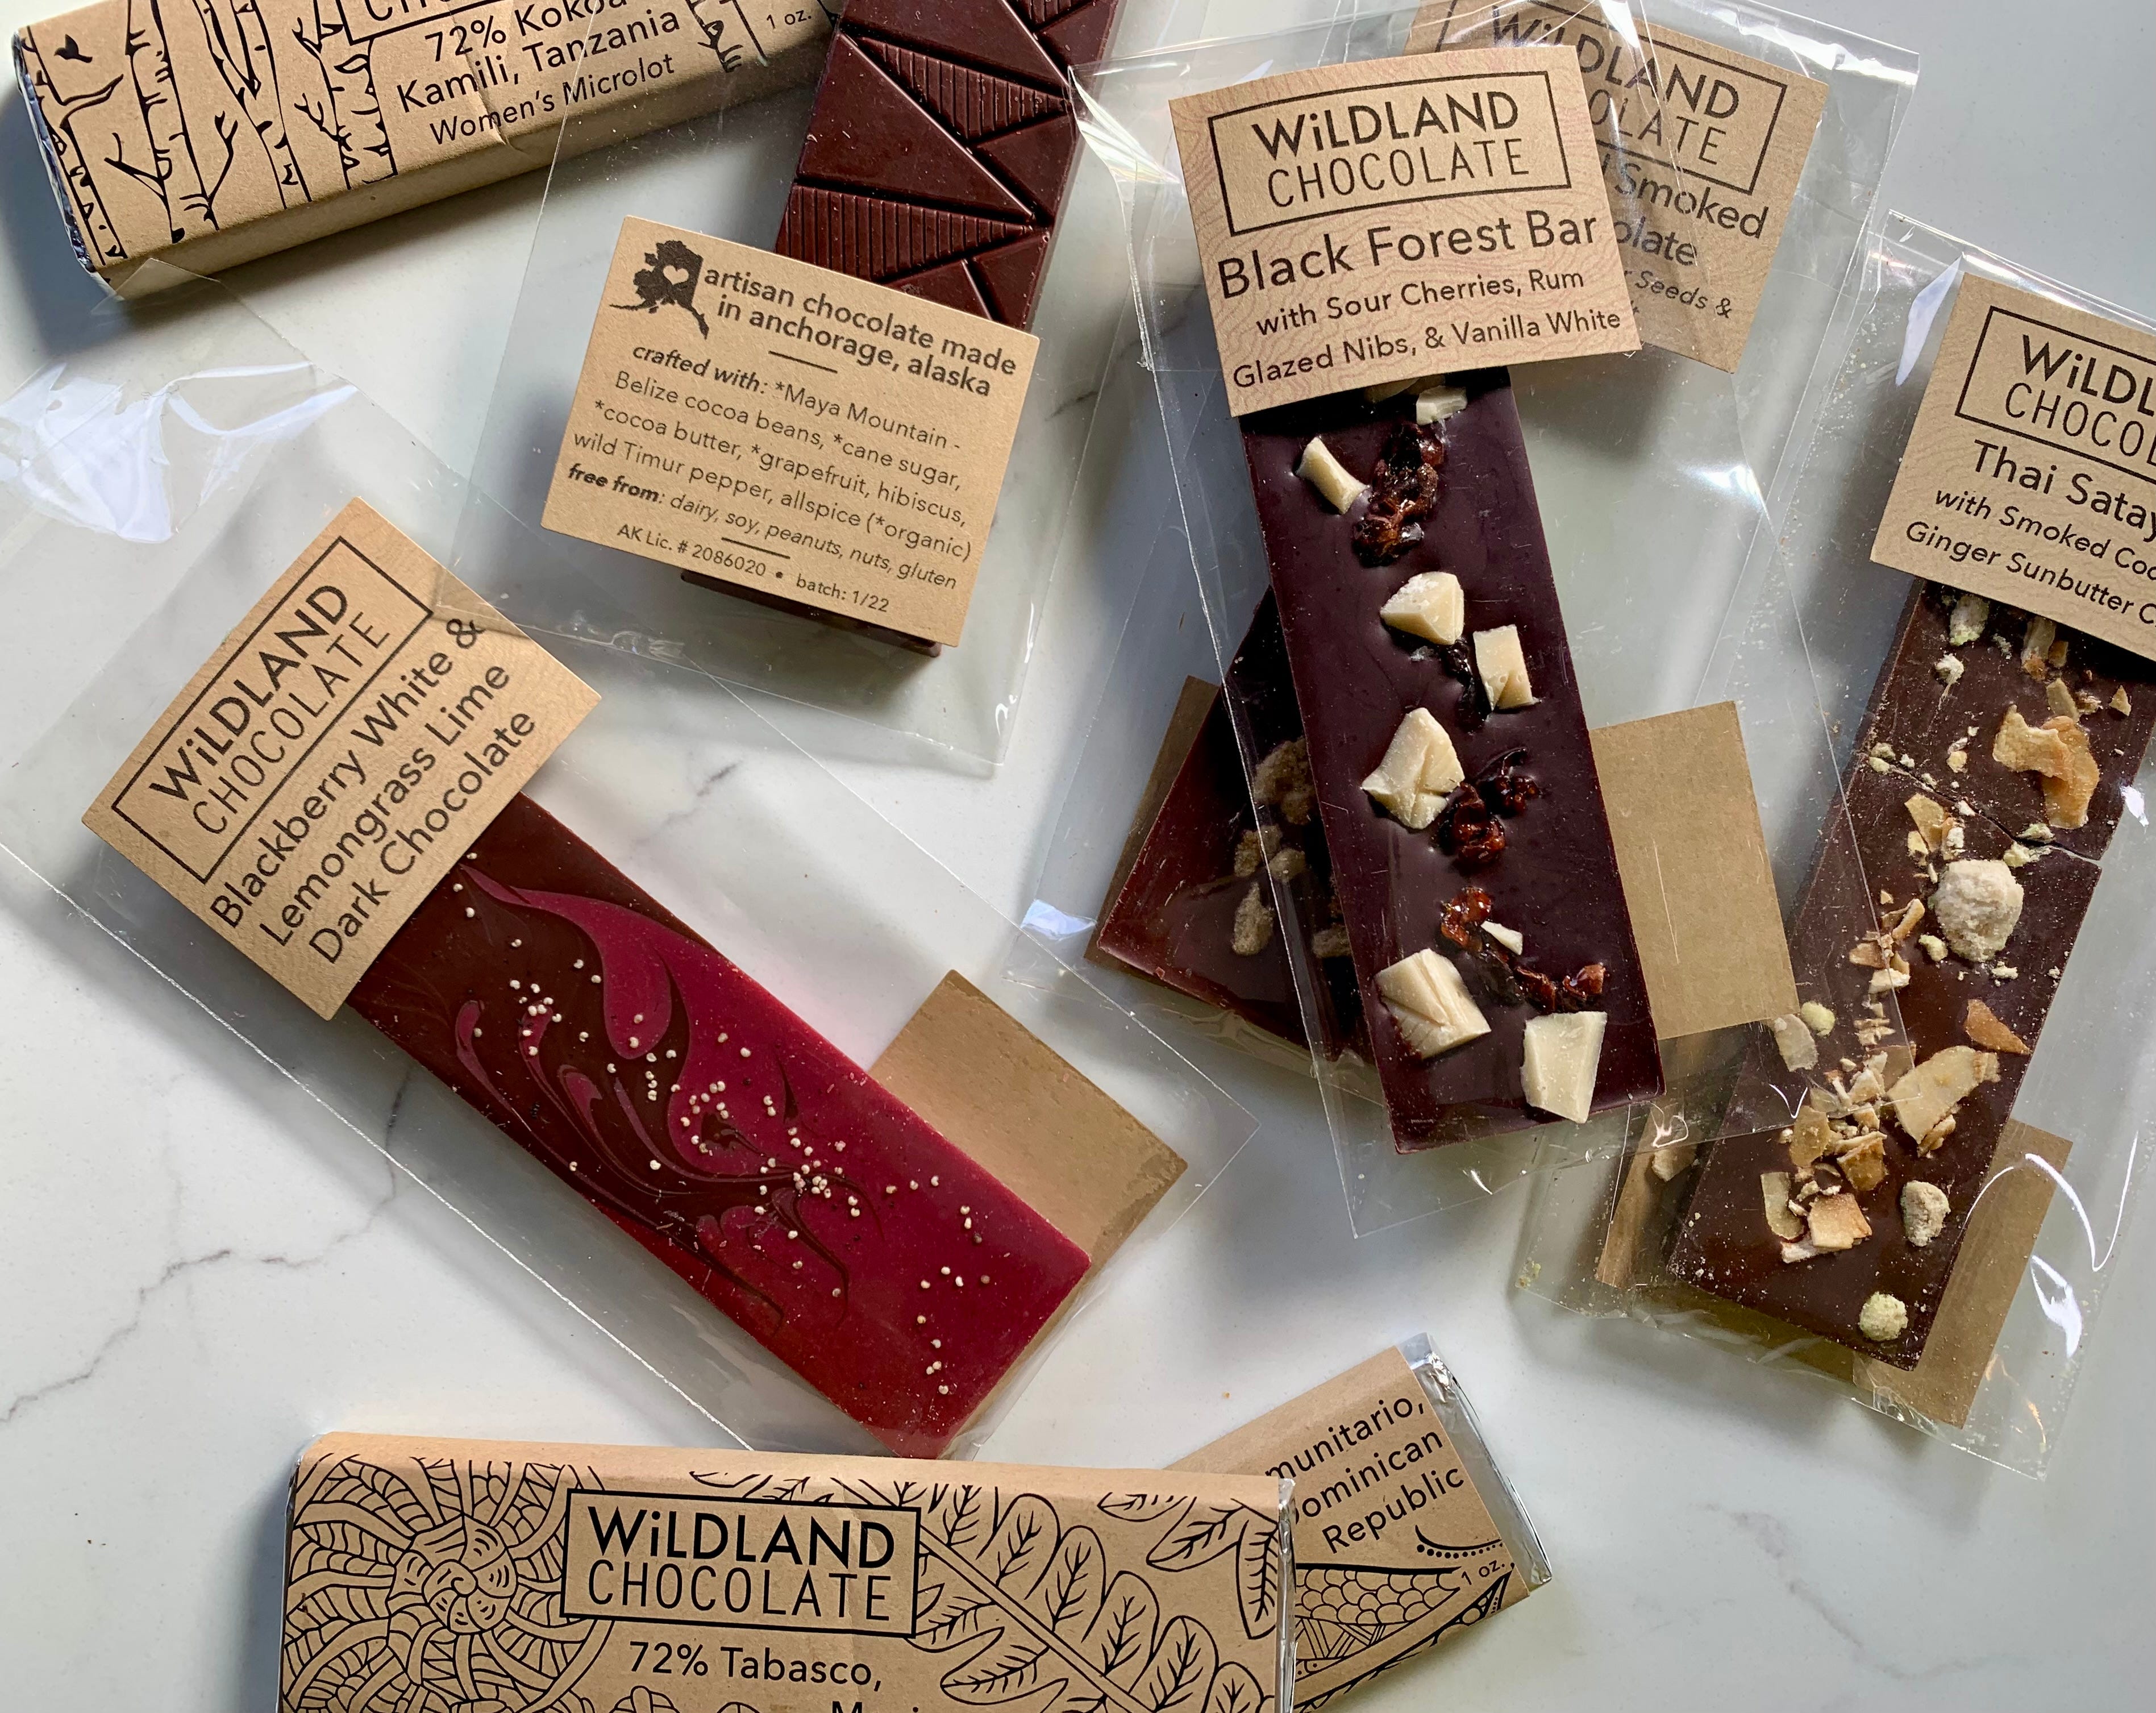
For many makers (and chocolate fans), inclusions may imply “something sprinkled on the back of a bar,” which, yes, is true: an inclusion bar is a base chocolate with added ingredients.
But inclusioncrafting is a bit more than that.
Inclusioncrafting is inspiration (why we want to make the bar) + structure (how we’ll bring our idea to reality) + the ingredients we choose. These intentional choices are what make it uniquely "ours," how we craft memorable chocolate, and why inclusioncrafting has gained loyal fans (and more makers attempting it) in a huge way in the past few years.
It may seem hard to believe now, but in 2014 when I made my first batches of chocolate, adding things to bars was not as widely accepted or practiced in craft chocolate as it is in 2024. My earliest bars had inclusions probably because I see chocolate as a food (as well as an ingredient, from my pastry chef days), and not just relegated to a sad life as a candy or confection.
Let’s face it, if more people enjoyed chocolate with breakfast (drizzled on toast, swirled through yogurt), chocolate for lunch (yes to nibs in salad and in tacos), and for dinner (white chocolate glazed sea bass) the world would be a happier place.
There are methods, techniques, how-to’s, and best practices, but there is only one true rule for an Inclusioncrafter to craft by:
the rule: each choice we make must be intentional
This is why Inclusioncrafting can require multiple steps and multiple batches and maybe multiple inclusions, but it’s just as equally okay to craft something rather straightforward and sprinkle nibs on the back of a bar, even though that’s not a new idea.
What’s unique to us is our choice of batch, our choice of origin, whether we toasted the nibs or brittles them, anything we choose to do because it’s what we think will best convey our idea.
The point isn’t to create new for the sake of new, or off the wall attention-grabbing bars (no oyster chocolate for this gal, plz). Our goal is to understand the principles and structure of inclusioncrafting, so we have the know-how to create whatever we want when inspiration strikes.
What it is, what it’s not
Inclusioncraft is how we go from our brilliant lightbulb idea for a bar to the finished bar; Inclusioncraft is not a set of recipes to follow.
Inclusioncraft is equal parts structure~~the approaches, methods + techniques we use the, ingredients (and how we prep the ingredients), and the inspiration behind the bar. It can be, but isn’t just sprinkling an ingredient onto the back of a bar.
The ingredients we use in Inclusioncraft = possibilities:
Snackcrafting inclusions is a body of methods and recipes uses to make the inclusions for a bar. Examples include candying citrus peel, toasting sourdough into crumbs, baking meringue for shards, cooking brittles.
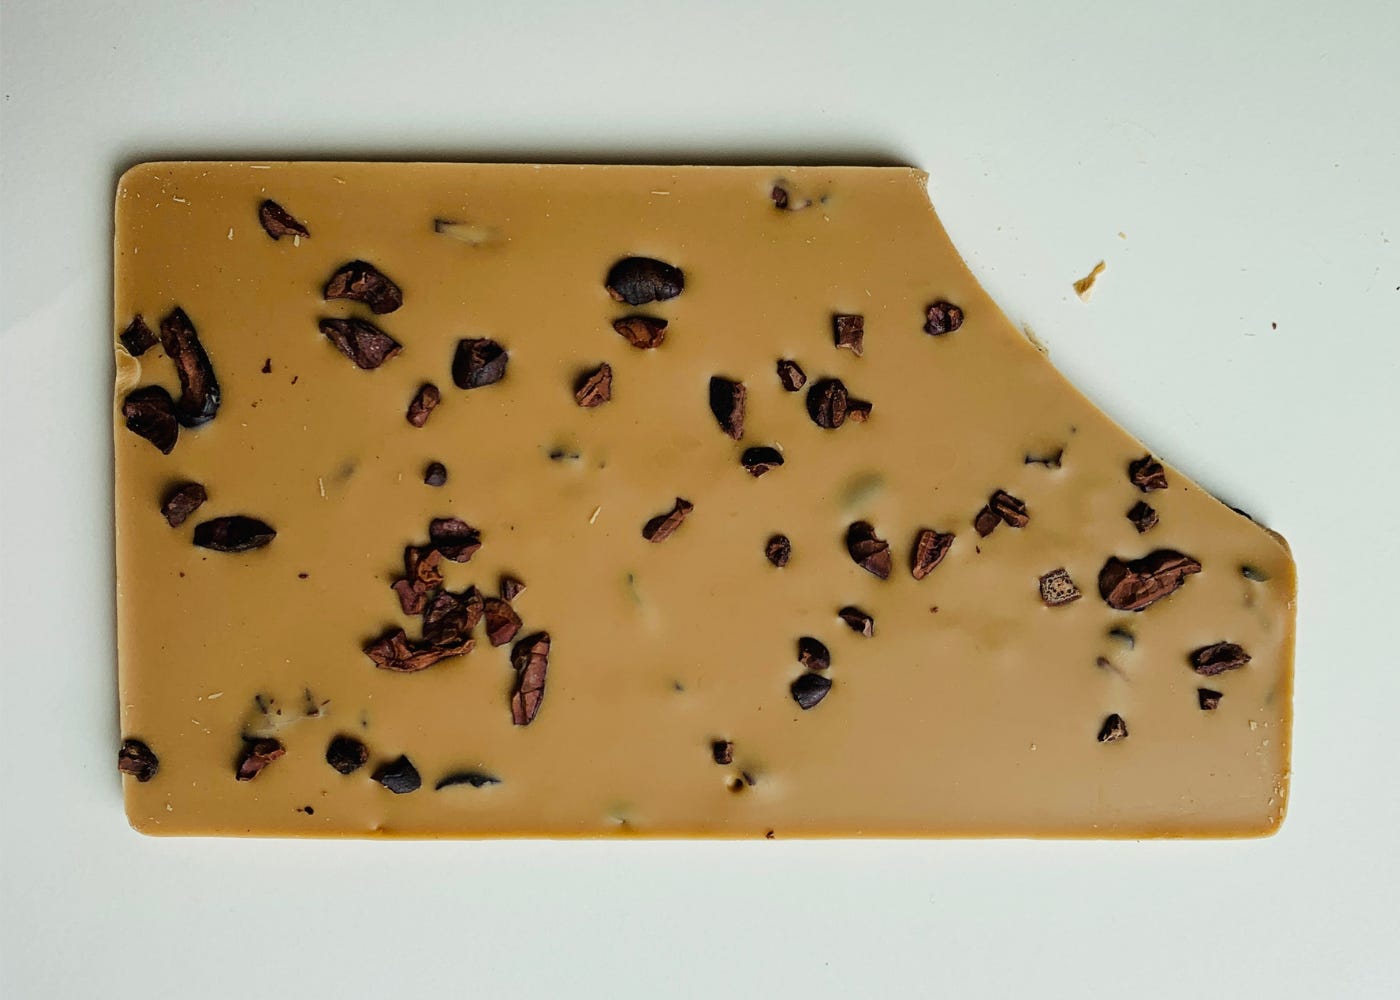
Traditional inclusions (nibs, salt) work well for a reason (nibs add crunch, salt plays against bitterness or sweetness) and might be beloved enough to us to create our own bar.
Cuisine-inspired inclusions can be representative of “who” we are, community, local food, travels, or because the flavors inspire.
Memory-inspired inclusions can find their way to the inclusioncrafting drawing table when we create a bar design based on a personal food memory.
Riff on a known idea, put a spin on a trend, craft a unique-to-you rendition
Seasonal/holiday inspired inclusions range far beyond chipped bits of peppermint in December.


What this means as a chocolate maker
We need to understand how to turn our idea into a plan
It helps to know the batchcrafting techniques, methods, and options for building your bar
And, we embark upon a new way of thinking about making chocolate, but a new understanding (and maybe courage) of how to make it your own, in a unique-to-you signature style.
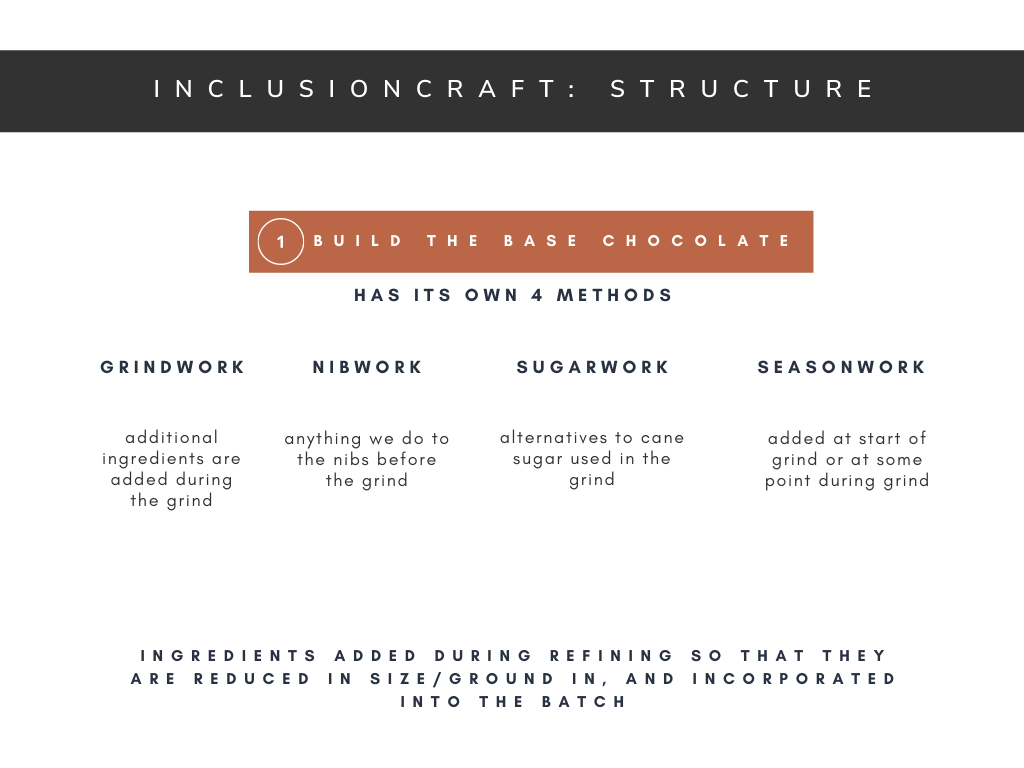
Inclusioncraft Structure
When we ask “how do the inclusions enter the picture” we are actually asking when we add them.
Once we have our idea or inspiration we begin to decide—and design—how we’ll craft the bar. Even having a vague notion of the “I love pumpkin spice lattes!! maybe I can make a pumpkin spice latte bar…with something creamy, like the foam? with a dark-espressoy chocolate? with spicy pumpkin chocolate?” gives us a starting point.
The plan for HOW begins to take shape as soon as we begin deciding when the inclusions enter the bar.
Remember, our inspiration or idea will come together to add flavor(s), texture(s), and often, appealing visuals to our bar.
Quick recap
Our plan is (1) deciding what our inclusions will be, (2) as well as when the inclusions will be added.
For some bars these choices may be very simple, as basic as sprinkling salt onto the back of a salted caramel white chocolate. But why a caramel white? and how will we make a caramel white? toast the milk powder? toast the sugar? add browned butter? make a batch of white chocolate then toast it?
It’s helpful to understand that what we want to create can take many different forms, the ingredients can come in at different stages of our proces, and we can sometimes tweak our ingredients if it will add a flavor/texture/eye appeal we decide we want.
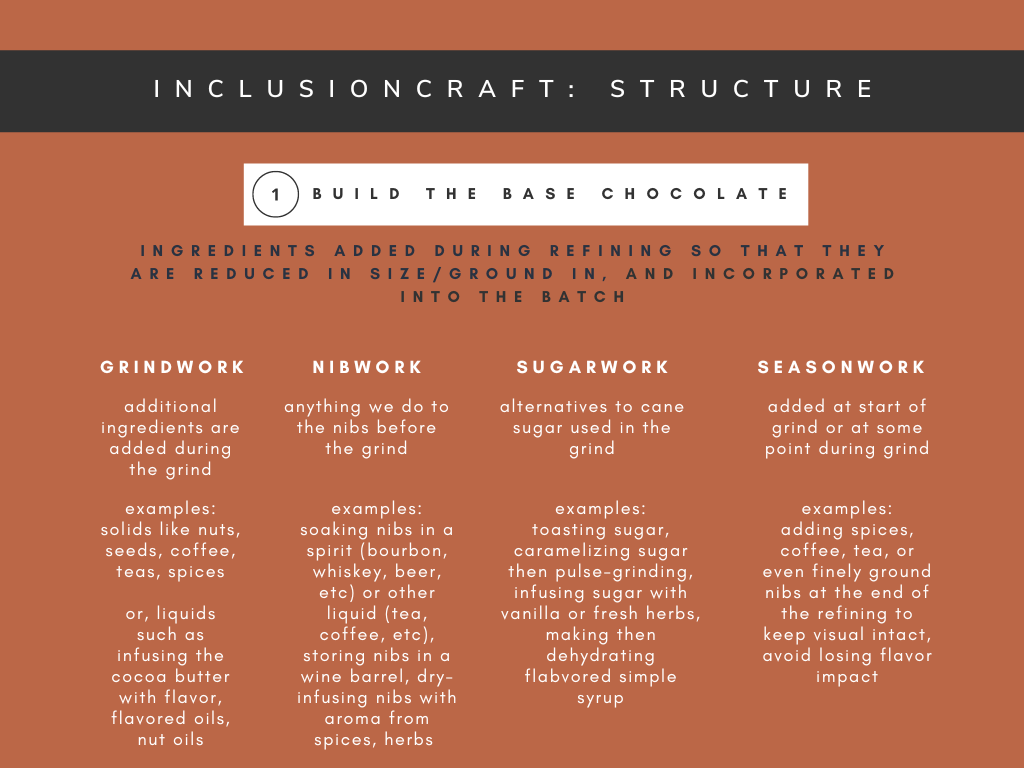
There are four approaches to adding inclusions:
We add them when we make the chocolate,
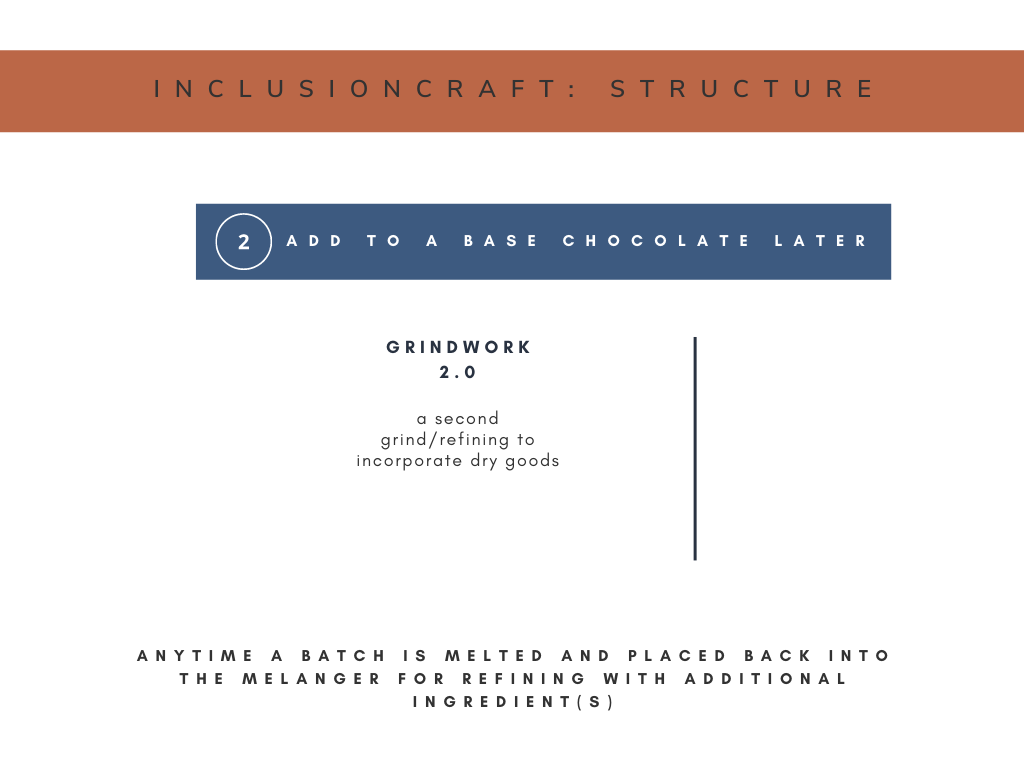
We add inclusions if we choose to grind extra flavor into a finished batch,
We add an inclusion(s) if we stir them into the chocolate at temper,
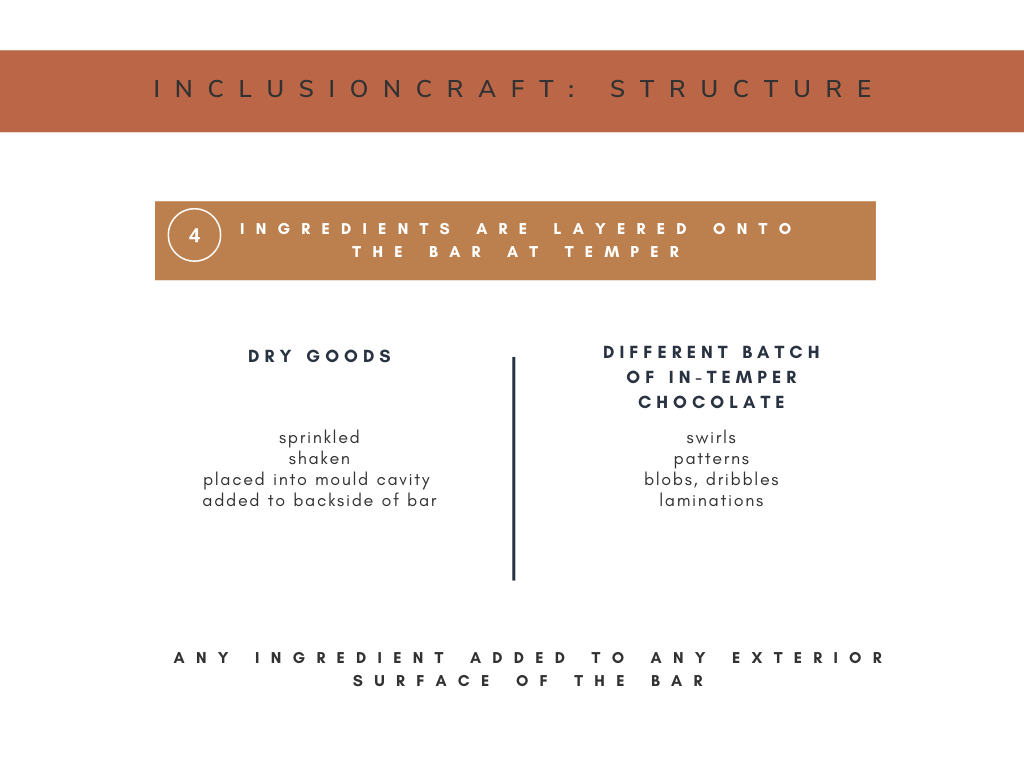
And we can layer them onto the batch at temper.
Here’s the breakdown


I hope this dive into inclusioncraft is helpful as we all head into holiday crafting, and anytime you’re contemplating crafting up new bars.
Questions? drop them into the comments!
Mackenzie