
creative crafting: adding swirls, marbling, and patterns to chocolate
the how-to's, plus a pdf guide to keep handy
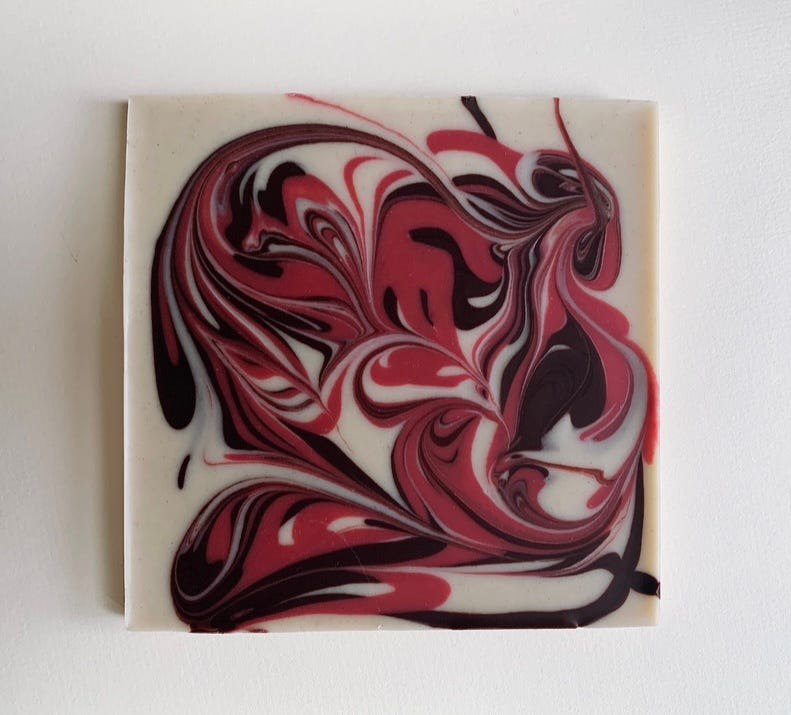
I think of swirls, marbling, and patterns as a subsection of inclusioncrafting where the “inclusion” is a second (or +++) batch of chocolate: we’re talking about the specific techniques for layering on additional in-temper chocolate at the same time as we’re moulding up bars.
Is this the same as those pretty colored cocoa butters frequently used in chocolatiering to paint/pattern/spray into bonbon moulds? Nope. Here we’re using batches of chocolate we make specifically for these bars, to pair flavors plus eye-candy colors.
This means having each batch in temper at the same time, and having a pattern idea or plan before we begin tempering.
Swirls and marbling are great for the visual effect, but also expand the flavor pairing idea potential of a bar.
First things first: keeping each batch in temper at the same time isn’t difficult, but it does require focus and attention.
I use seed tempering (the approach to tempering chocolate that uses cocoa butter seed—which is simply tempered cocoa butter) for all my bars, and have since January 2015. I’ve never owned a tempering machine, and yes, even when I was producing 1000+ bars per month for my company Map Chocolate.
Seed tempering is super conducive to creative crafting (swirls and inclusions) because (1) there’s no reliance on one machine (i.e, holding one batch) at a time, and, (2) because we’re able to begin pouring/moulding the chocolate at a higher temperature, it tends to be more fluid, which gives us more time.
Seed tempering is useful for out-witting the issues humidity can cause during tempering; here in sunny (lol) Oregon, where it rains often, and we’re in drippy fog (often), or where our relative humidity is high (maybe you’ve seen photos of the thick carpets of moss on our roofs here?), using the seed method is the best decision I ever made.
Caveat: the cocoa butter seed is what kicks the crystals we’re aiming for into high gear, but seed tempering, like all tempering, requires a cool enough space for the bars to drop in temperature and set. If our tempering fails due to too-high room temp, with a dark or milk chocolate bar we can re-melt the bars and start over. Even with a stirred-on or sprinkled-on inclusion we can re-melt, strain/sieve out the inclusion, and start again.
Not so with multi-batch patterned bars. If I melt the bar above the three types of chocolate I used to make it become a blend.
If your work space tends to be on the arm side (for this type of tempering that’s anytime the temp is 78f/26c) you’ll want to take steps to make sure the area where your bars will cool and set as cool as possible. This also means if you pop the bars into a fridge or freezer (I prefer freezers as they have less humidity and the fan tends to blow constantly) they will still need to be in a cool area.
Before we dive into creating patterns, if you’re new to seed tempering or need a refresher, I’ve included a post with a video demonstration for making seed and tempering with it, which also has a pdf guide to download. If you’re all set on tempering, you can skip down to the pattern how-to’s, and the pdf guide.